

The crack of a whip — faster than sound, slow to forget.
Handcrafted custom bullwhips, stockwhips, and snakewhips. Made in Minneapolis.
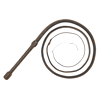
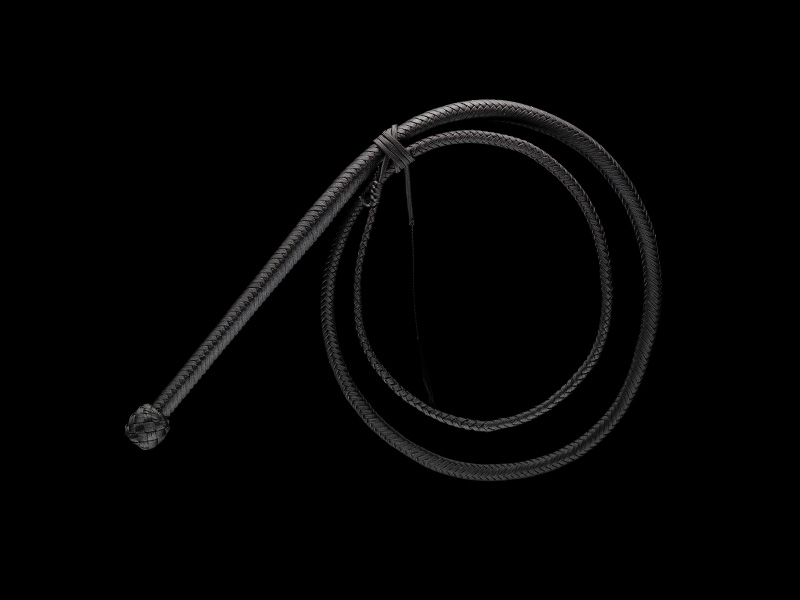
Design a Bullwhip
Customize your bullwhip — colors, length, handle pattern, and more.
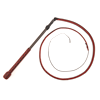
Design a Stockwhip
The Australian classic. Choose your length, colors, handle pattern, and more.
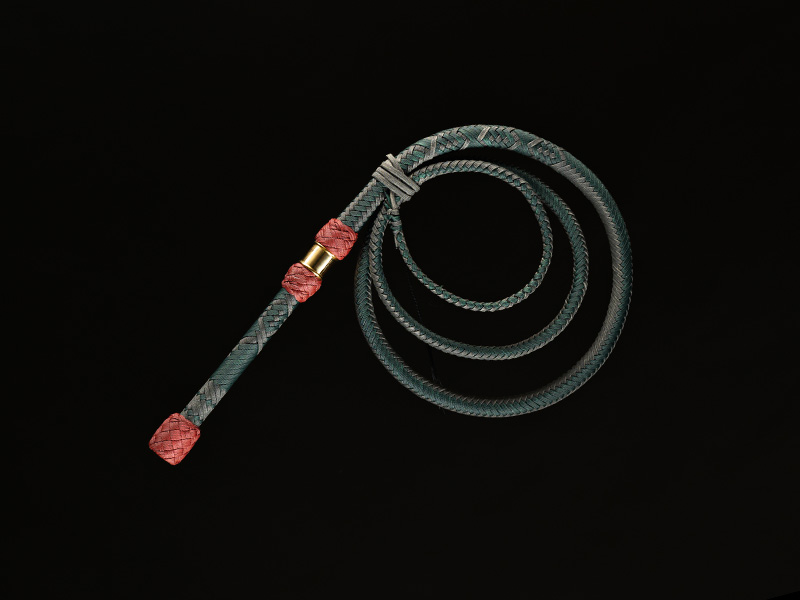
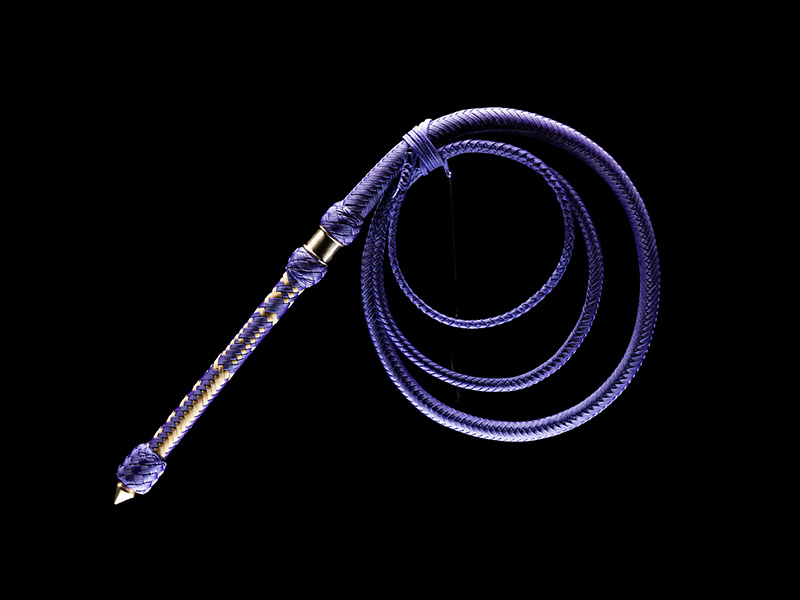
Specialty Whips
Custom whips inspired by the characters, myths, and icons you love.
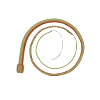
Design a Snakewhip
No rigid handle, coils up small. Ideal for cracking in small spaces.
Meet the Maker
About the Whipmaker
Hi, I'm Adam. I started WhipWorks in 2015 and have made over 1,000 whips since.
See how I got here
Featured Whip
The Blacksmith's Bullwhip
A collaboration with Cornish blacksmith Reece Foster. Choose three custom Elder Futhark runes for me to plait into the thong and handle.
See the Blacksmith's Bullwhip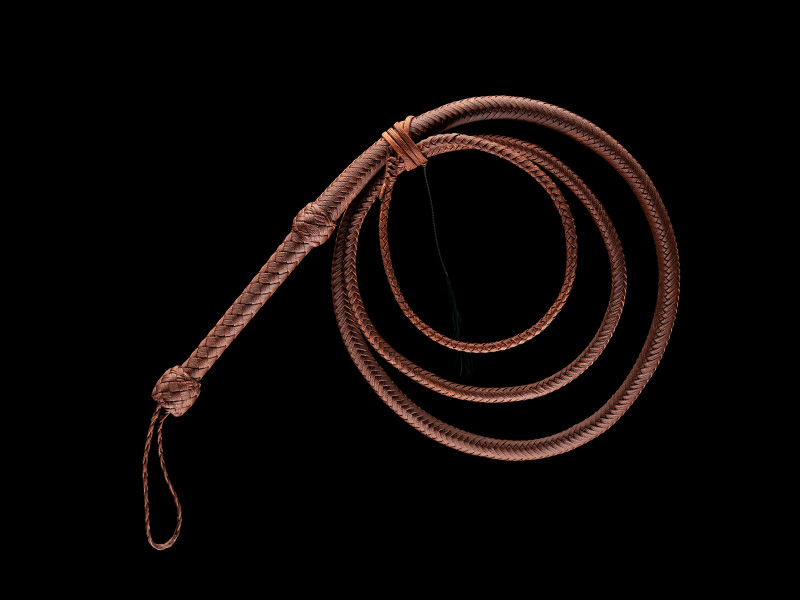


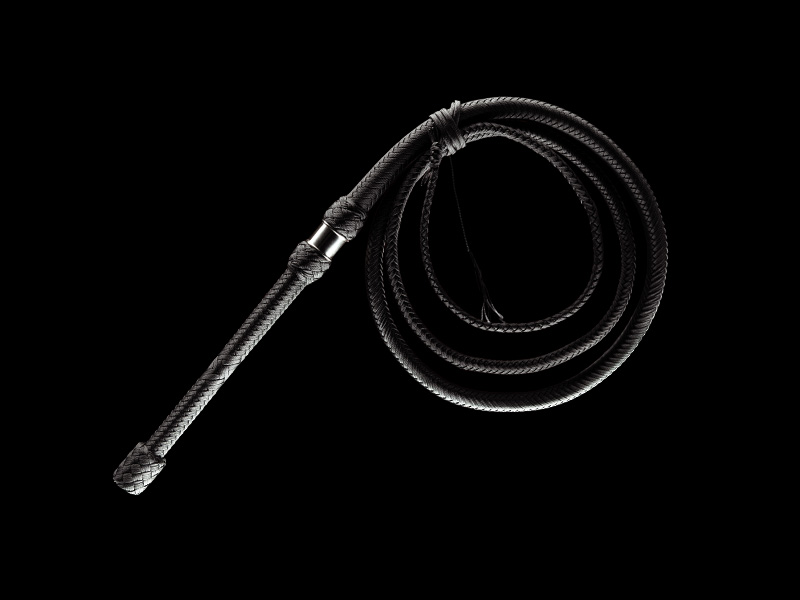


Triple plaited, shot loaded, hand made
Want to make your own?
Start from a blueprint, learn from the tutorials, or stock up on materials.
Guides
Whipmaking Blueprints
Detailed PDF guides covering strand lengths, transition details, and overlay designs.
See the blueprintsSupplies
Whipmaking Materials
Coreless paracord, conchos, steel handle rods, fids, and other supplies needed to build a whip from scratch.
Shop materialsTutorials
YouTube Tutorials
Free step-by-step videos covering everything from building the core to finishing the accent knots.
Watch on YouTube“Everything's perfect, I wouldn't have thought a paracord whip would roll so well.”
— Ma · January 2026 · Custom 7 foot Paracord Bullwhip, 16 Plait
A closer look
The Anatomy of a Bullwhip
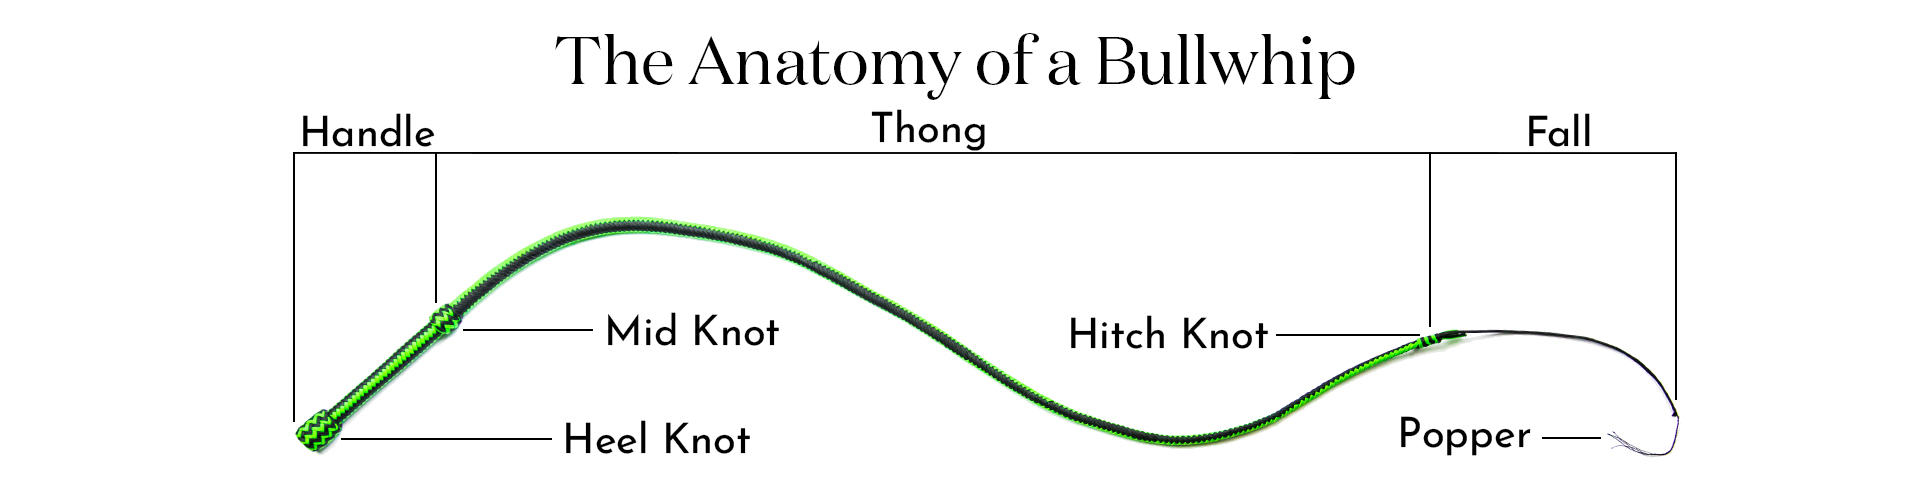
Here’s a break-down of a bullwhip. The handle is the stiff portion containing the 1/4″ steel rod. The mid knot marks the end of the handle and the beginning of the transition — the start of the thong. The thong tapers down from 16 strands all the way to the 4-plait hitch knot, where the fall is attached. The fall extends another two feet, and the popper is attached at the end.
@whipworks
Follow along on
New whips, workshop moments, and builds-in-progress.
Get in touch
Dreaming up something custom?
Have a question? Let’s talk. I answer every message personally — from custom whip inquiries to questions about your order.
Contact Adam